Process & approval
Cutting & finishing
Turn the visible details into a clear drawing.
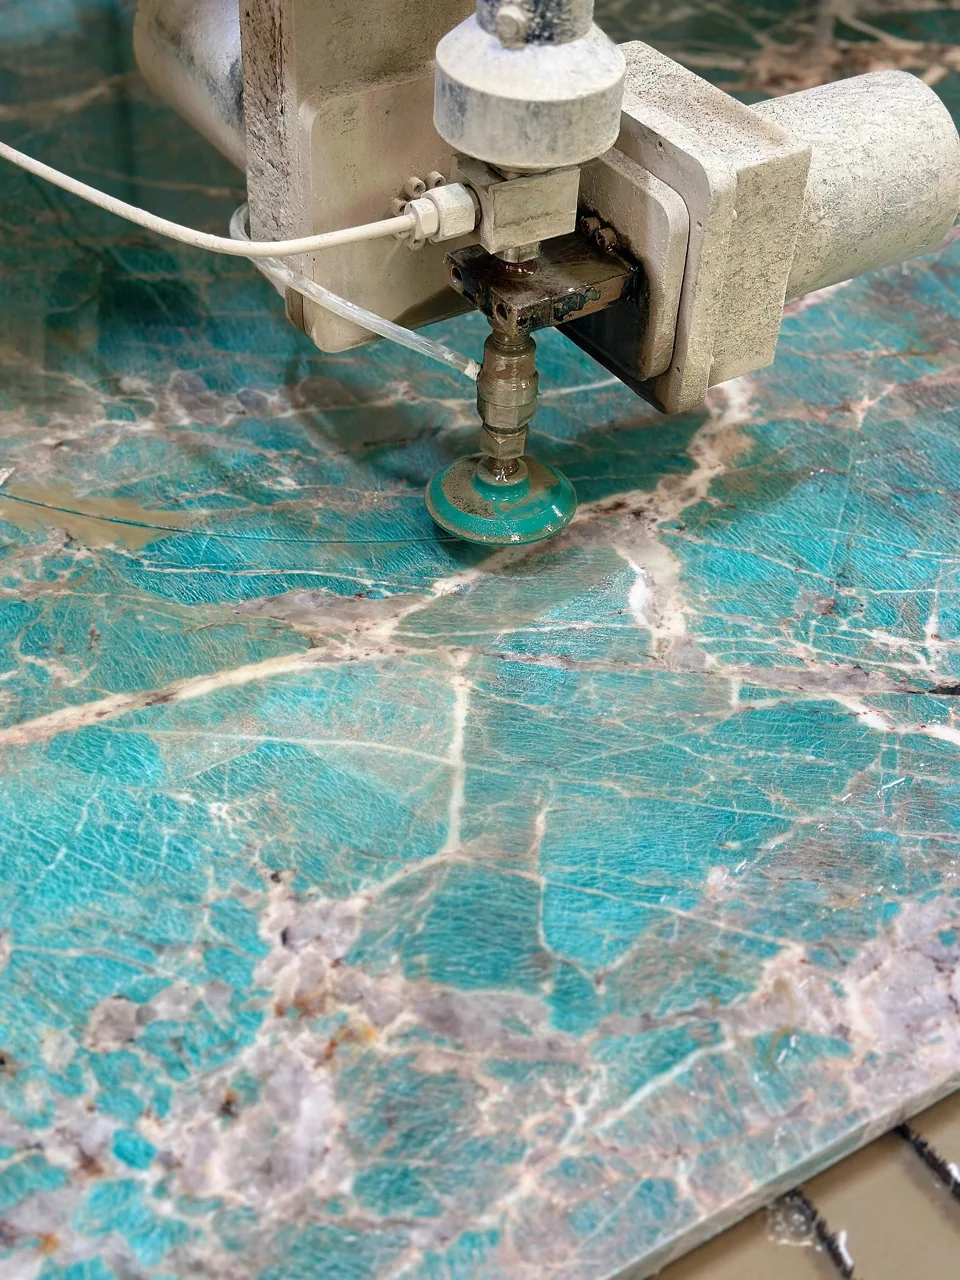
Freeze the drawing first.
Freeze the drawing first.
Put dimensions, tolerances to be agreed, exposed faces, profiles and corner radii on the same drawing. Add the positions of joints, holes and interfaces with other trades.
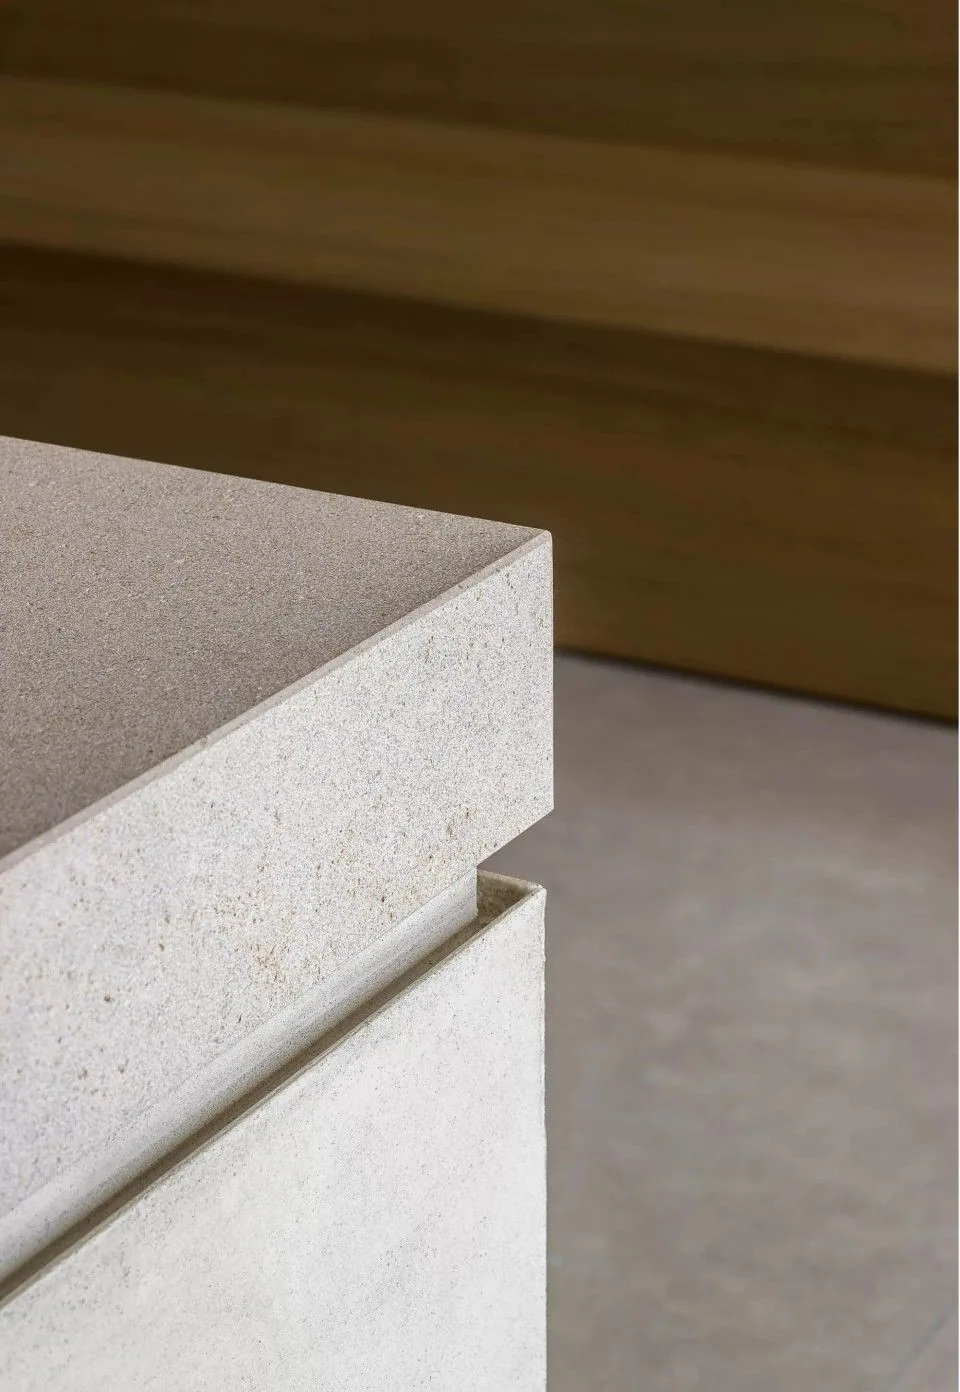
- Show the edge in section.
- Approve the finish on a sample.
- Coordinate the adjoining materials.
The detail behind the decision.

Show the edge in section.
A thick-looking edge may be built differently from a solid thick slab. Ask for the proposed section and the appearance of the underside. Confirm how any mitres or built-up areas will look at the corner.
Approve the finish on a sample.
Look at the intended finish in the room lighting, including the edge and any carved or recessed area. Discuss the desired touch, visual character and cleaning access.
Coordinate the adjoining materials.
Where stone meets metal, wood, a wall or a fitting, identify the interface and installation sequence. Leave responsibility for engineering and site-specific fixing design with the relevant project professional.
A useful record to request.
- Project and piece reference, with date and drawing revision.
- Named material, finish and approved layout.
- Checks agreed with the responsible team and the evidence supplied.
- Open points, approval status and the person confirming the next stage.
Bring a reference. We will help clarify the brief.
Image sources
Image sources
Images illustrate design and material choices. They are not a record of an AxoStone installation.
- Image 1: Original source
- Image 2: Original source
- Image 3: Original source