
Name the visual intention.
Explain whether you want a mirrored pattern, a directional flow, a repeated rhythm or a less noticeable junction. Use a marked reference image to show the effect, then ask how it could be achieved with the available slabs.
Do not rely on one label to define the whole result. The selected slabs, their faces and the orientation of each part determine what is visible at the finished joint.
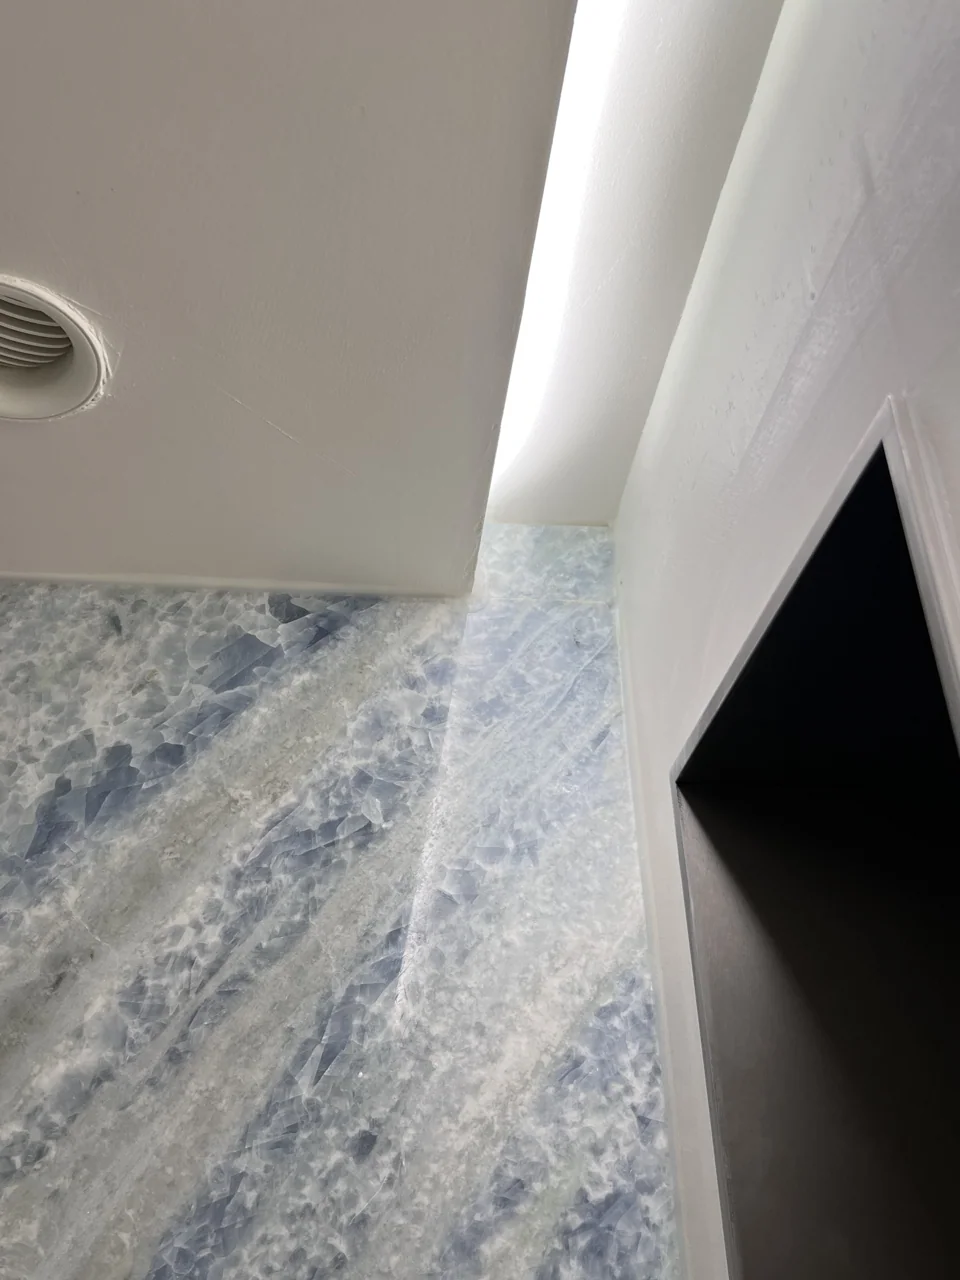
Review the flat layout and the corner.
A layout can look convincing from above and change at a return or mitred edge. Show the normal viewing position and the faces that will be visible. Mark joints, cut-outs and the direction of each component.
Ask to see the proposed arrangement at a scale that allows the important veins to be read. Keep the part numbers on both the layout and the drawing so they remain connected during fabrication and installation.
Agree priorities before cutting.
Some designs ask for a dramatic central vein; others favour a quieter whole. State the features that matter most and where variation is acceptable. Ask the supplier to explain the material use and limitations of the proposed arrangement.
If a slab or component changes, review the affected junction again. Keep the final layout revision with the material approval and the installation sequence.
Your checklist
- 01
Desired pattern effect and viewing direction.
- 02
Identified slabs and visible faces.
- 03
Part numbers and orientation.
- 04
Joint and corner positions.
- 05
Cut-outs and important veins.
- 06
Dated layout approval.
Keep the agreed information with the dated project drawing.
Questions before the next step
Does bookmatching guarantee every joint will disappear?
No. Review the actual faces, layout and joints. A mirrored pattern is a visual arrangement, not a promise of an invisible connection.
Can a small sample show a matched corner?
Use the proposed full-piece layout and a relevant corner detail to assess that relationship.
Image sources
Images illustrate design and material choices. They are not a record of an AxoStone installation.
- Image 1: Original source