01
Statement & illuminated panels
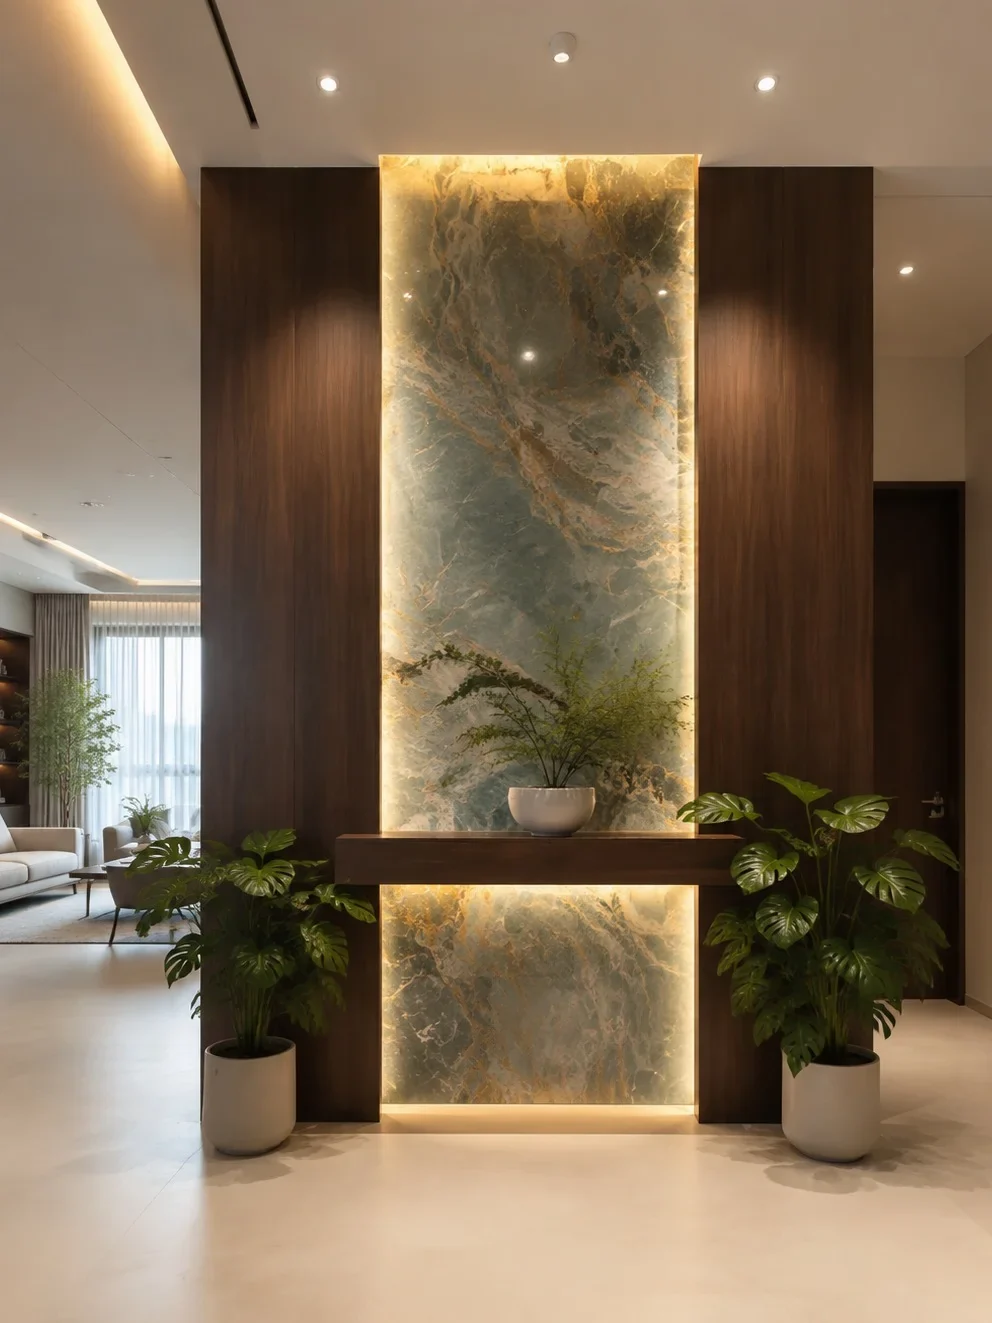
A focused panel can define an entrance or a living-room wall. Distinguish light washing the face from light transmitted through the stone, and sample the actual material and lighting assembly.
Objects for the way you live.
Stone furniture and architectural pieces, drawn for your space.
Explore all products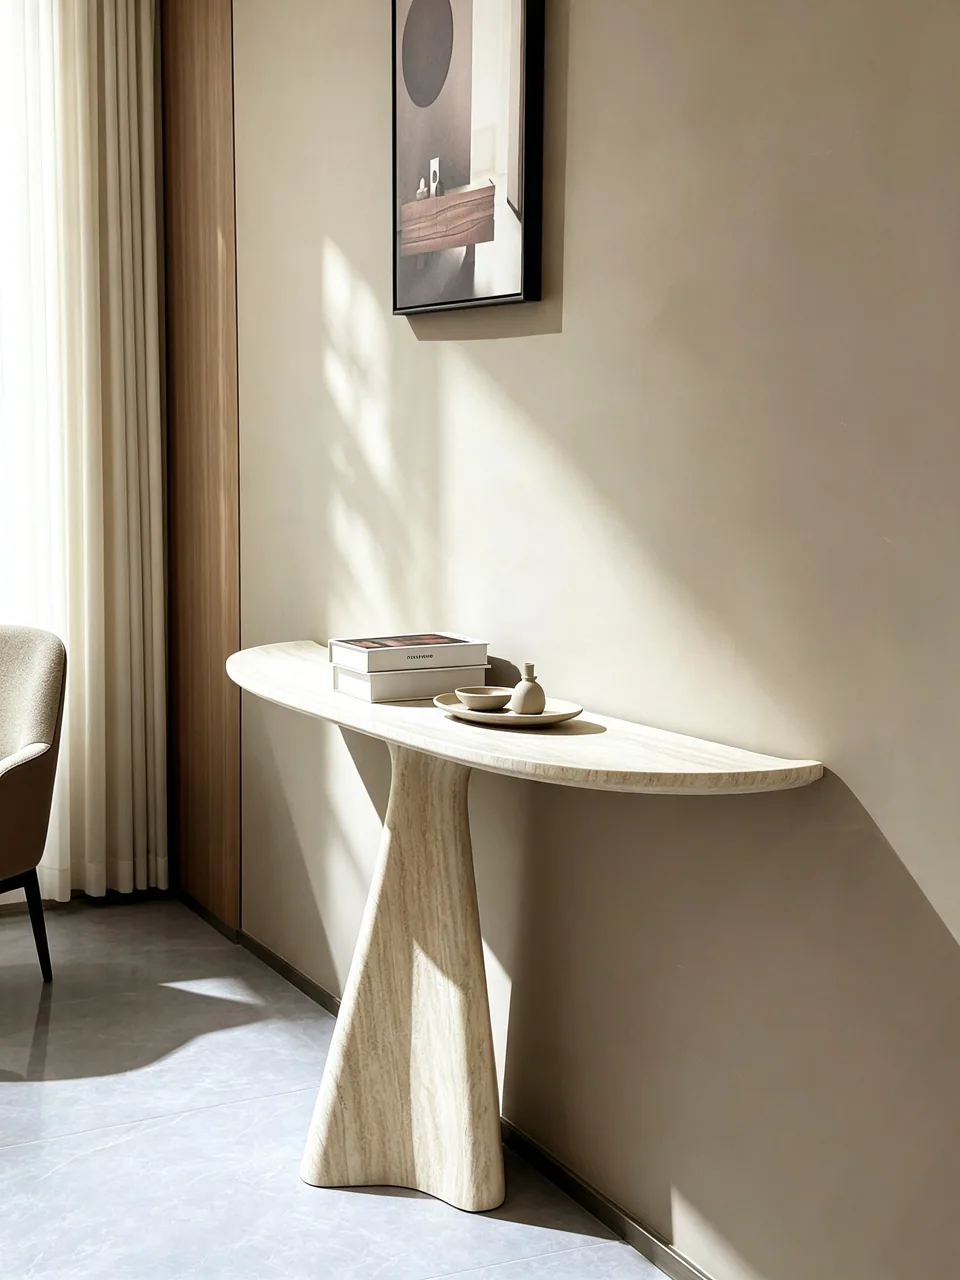
Begin with the stone.
Explore character, finish and the practical demands of your room.
Explore all materials
The detail makes the piece.
From the cut layout to the connection, finish and packing.
Explore our capabilities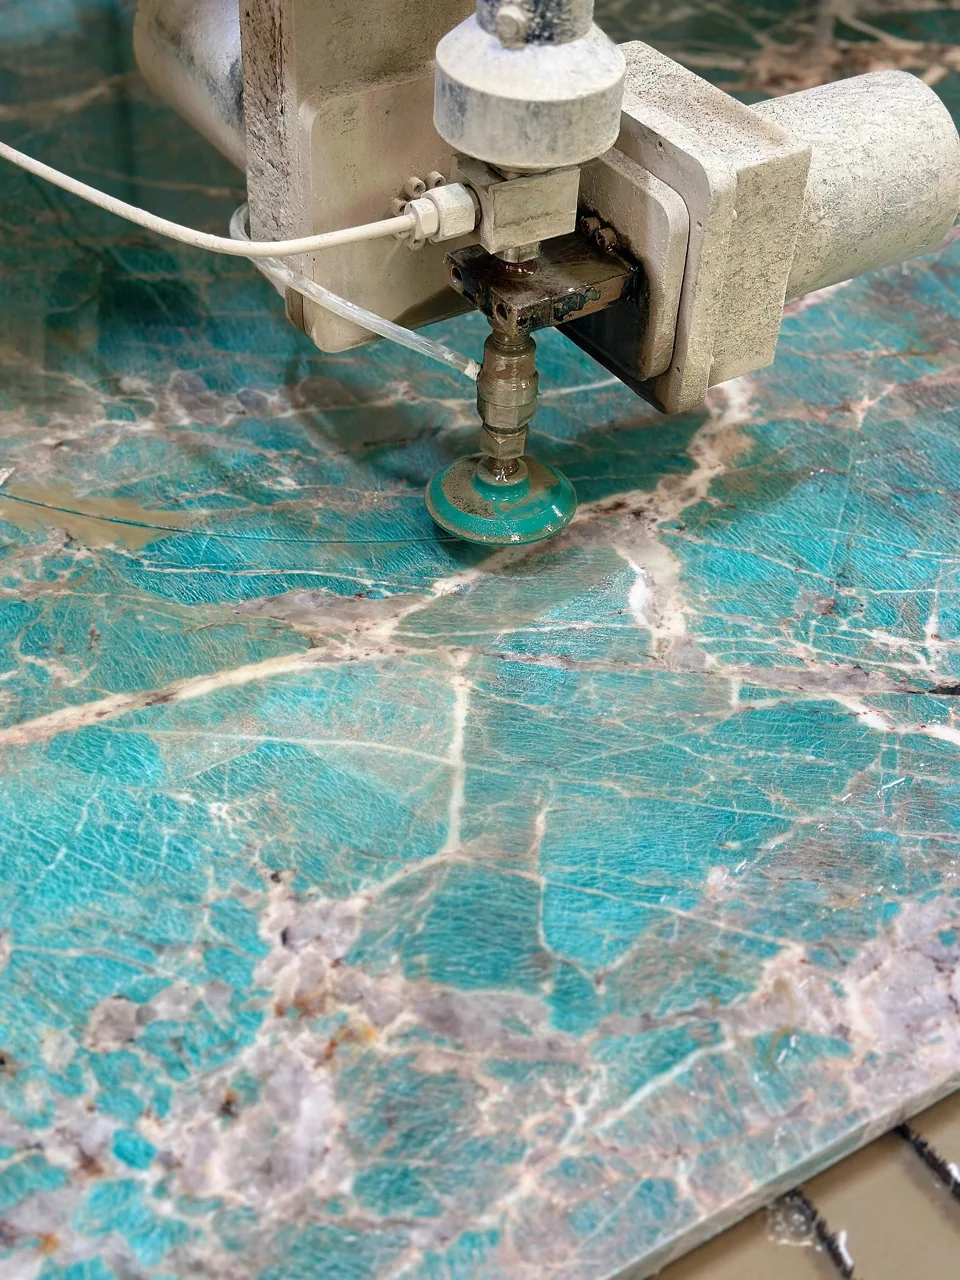
Stone at an architectural scale
Let the surface
shape the space.
Bookmatched veining, quiet travertine or a carefully lit stone panel can give a room its defining surface. Start with the whole elevation, then work through the joints, returns and support behind it.
Discuss your project Explore the collection ↓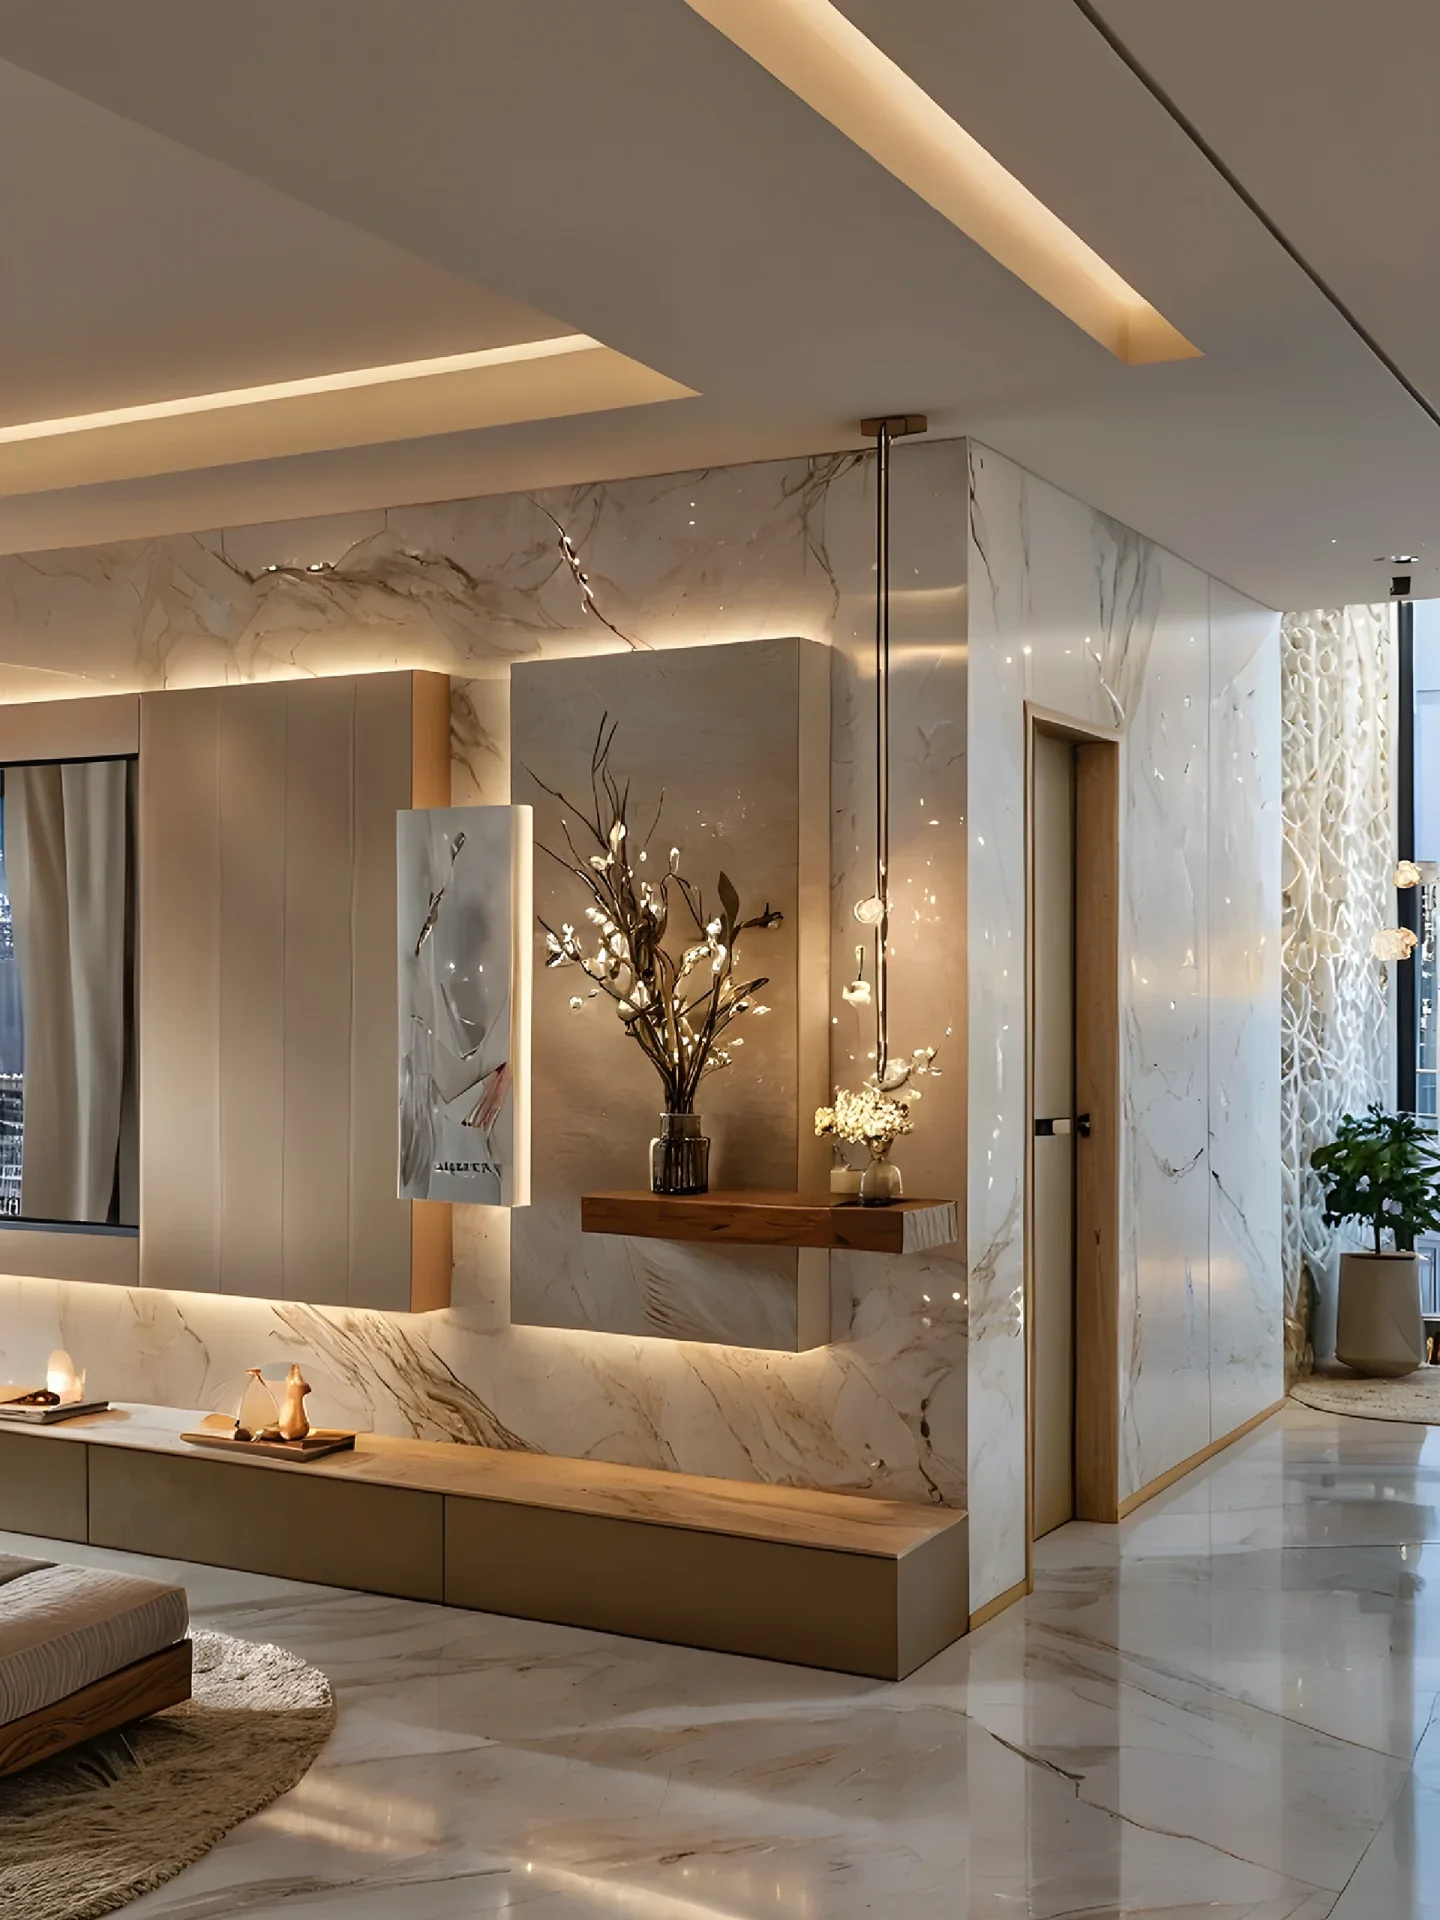
A practical starting point
A stone feature wall combines a material layout with a wall-support system. Bookmatched slabs, fluted panels and backlit features create different effects, but each needs defined panel sizes, joints, backing and fixing details. Specify whether the wall is dry or wet, internal or external, and decorative or part of another building assembly before choosing the final design.
01 / Explore the possibilities
Choose the role of the wall first: a background, a composition or the room's principal artwork.
A focused panel can define an entrance or a living-room wall. Distinguish light washing the face from light transmitted through the stone, and sample the actual material and lighting assembly.
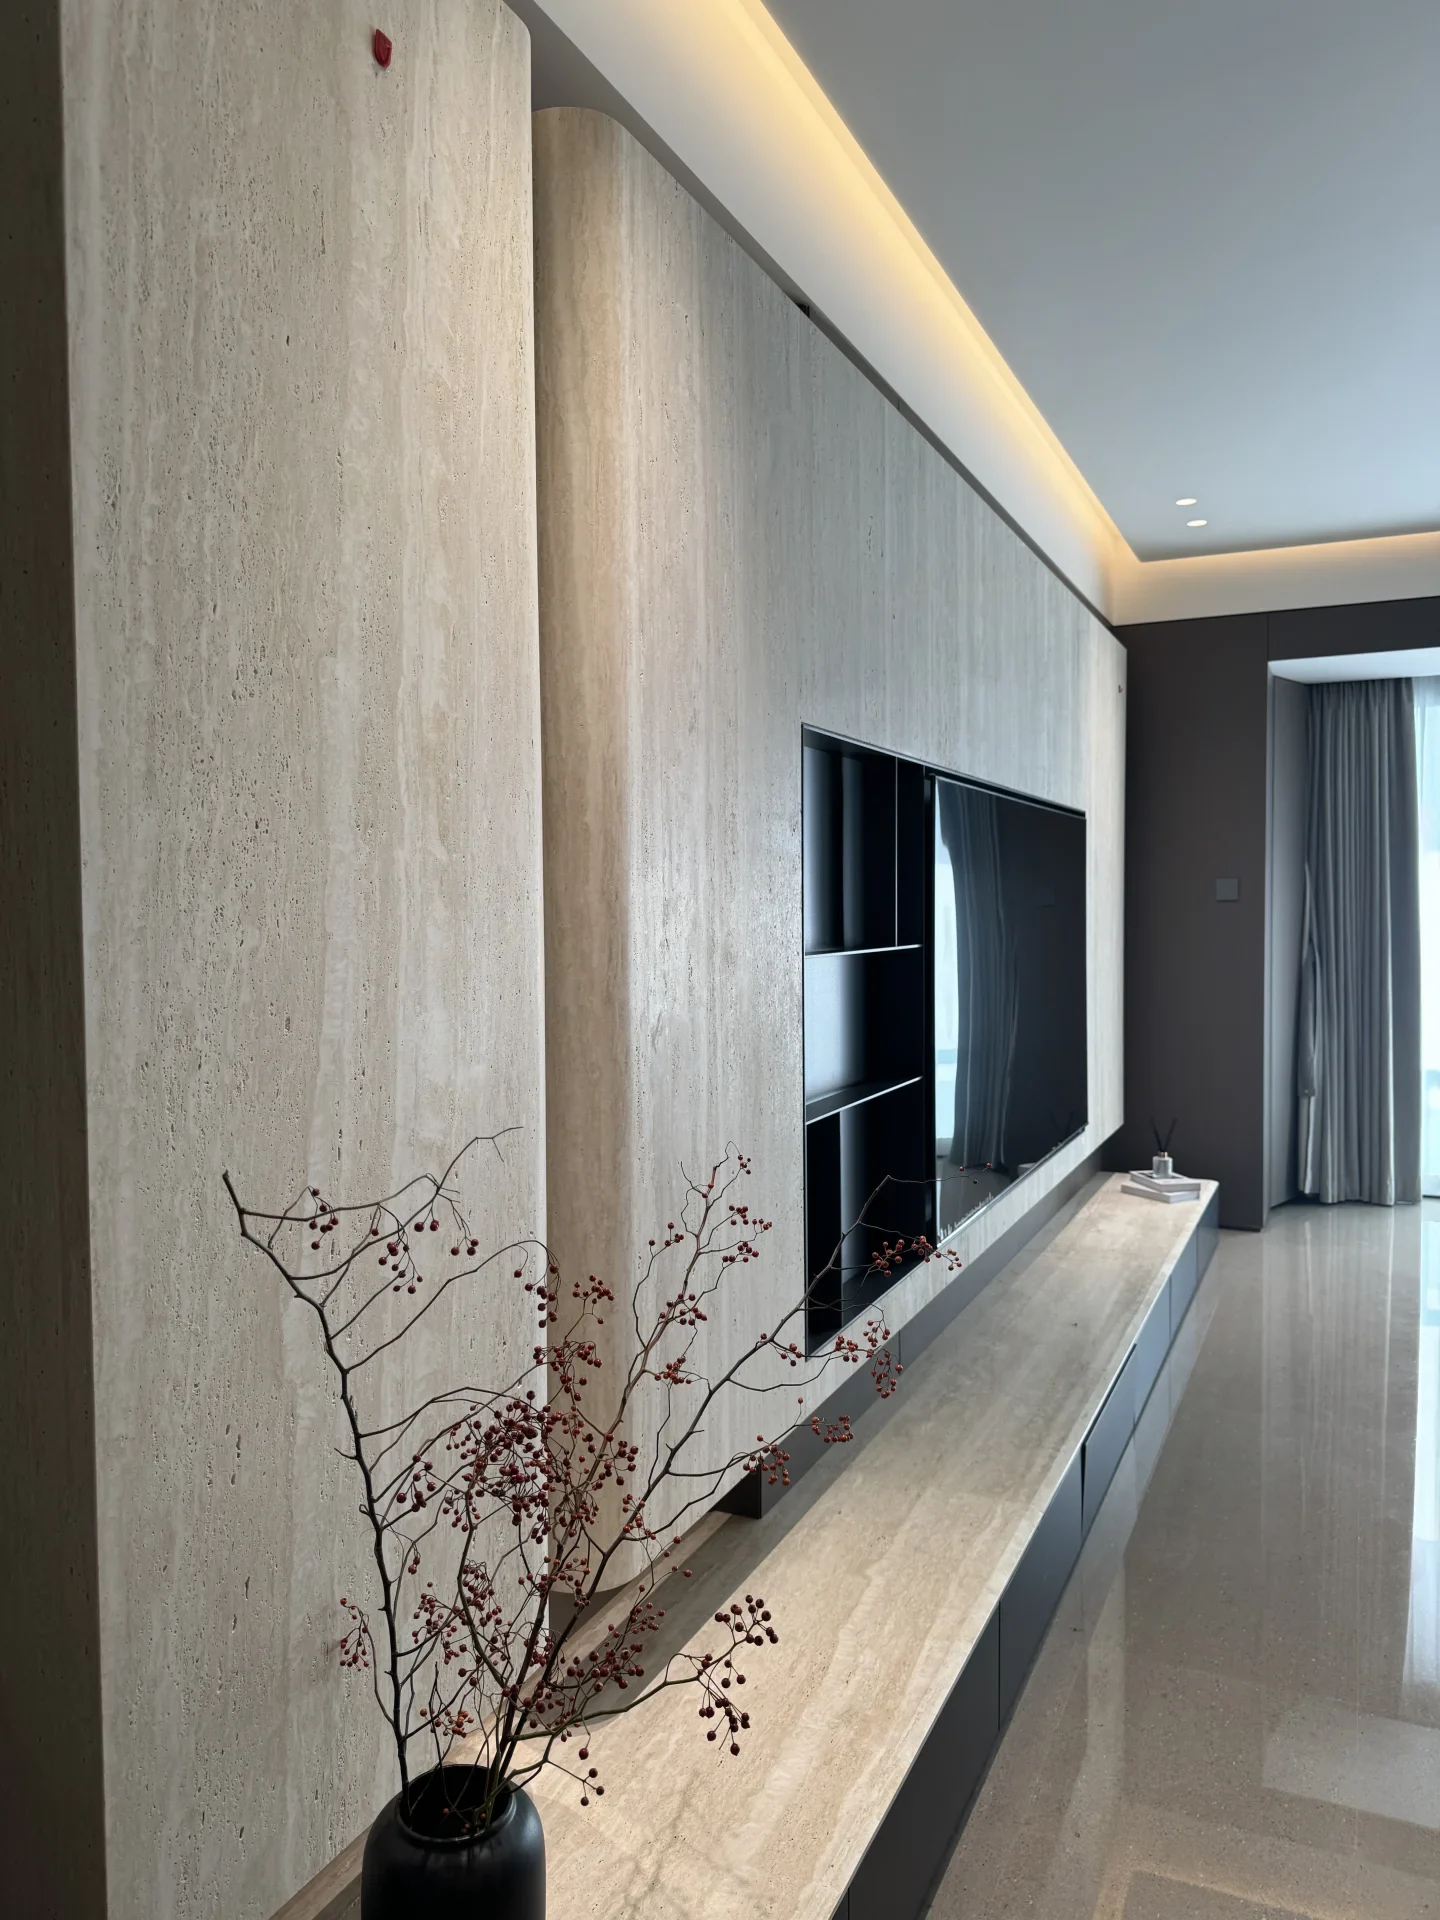
Directional travertine and ribbed or fluted surfaces create rhythm without relying on a dramatic pattern. Review grazing light, cleaning access and how the texture ends at openings.
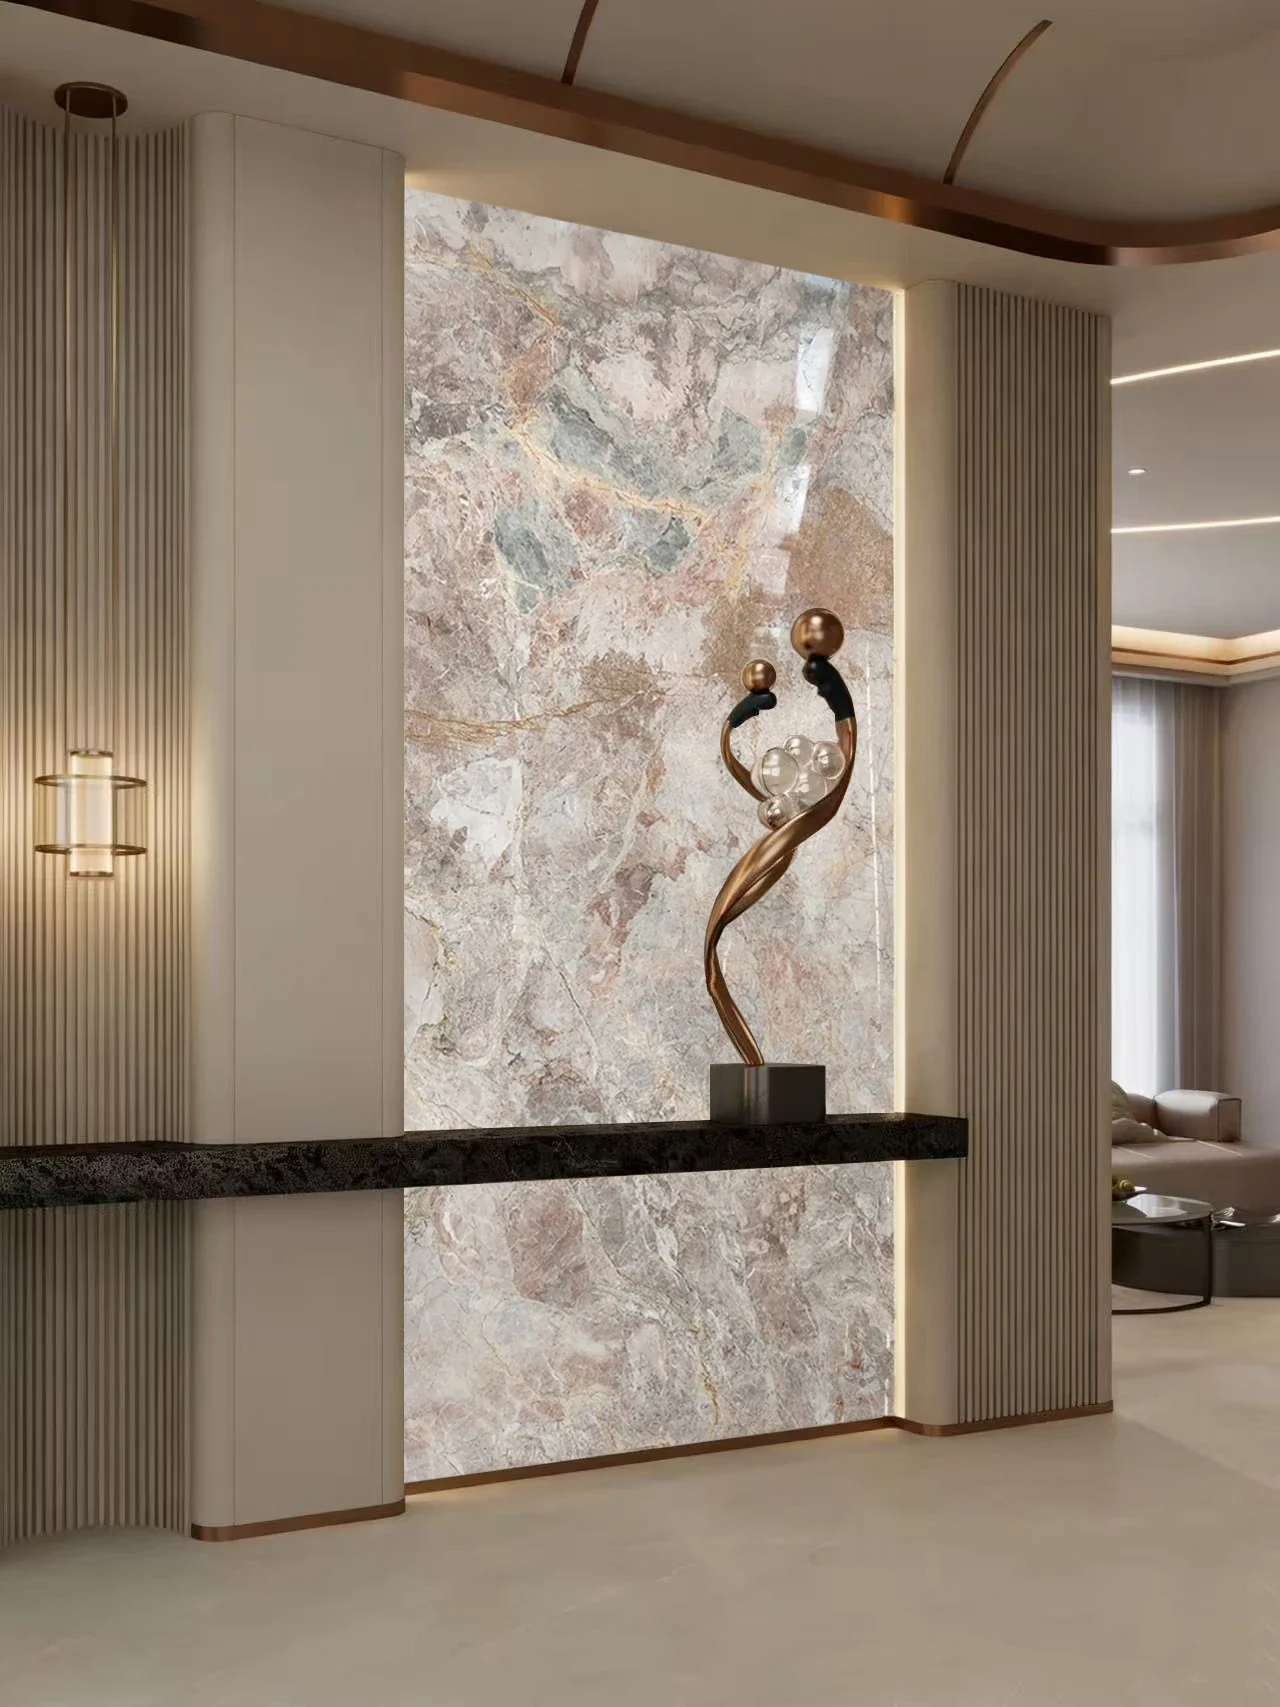
A strong natural pattern needs a deliberate elevation. Decide the principal viewing angle, slab sequence, joint positions and the way the stone meets joinery, ceilings and floors.
Compare the approaches
A continuous visual surface may still consist of several numbered panels. The joint layout and the way panels are held to the building should be developed alongside the pattern.
A mirrored vein composition across adjacent panels.
True matching depends on the available sequence and faces of the slabs. It needs a full elevation and cut layout, not only a stone sample.
Slab sequence; panel map; vein orientation.
A restrained surface with fewer visual interruptions.
Fewer joints can mean larger, heavier pieces. Access, support and available slab dimensions may determine the panel size.
Panel dimensions; part weights; handling route.
Relief, shadow and a tactile vertical rhythm.
Grooves affect the remaining section, edge returns and cleaning access. Confirm whether the form is carved, assembled or a manufactured product.
Flute profile; remaining thickness; end detail.
Transmitted light through a suitable material.
A lit perimeter is not the same as light transmitted through the stone. Review the selected panel with the intended lighting and backing.
Material/light mock-up; cavity; maintenance access.
An integrated media wall, display or reception backdrop.
Shelves, screens and cabinets introduce loads and services. Their supports and cable routes must be resolved independently of the decorative surface.
Coordinated elevation; services; structural interfaces.
02 / Consider the details
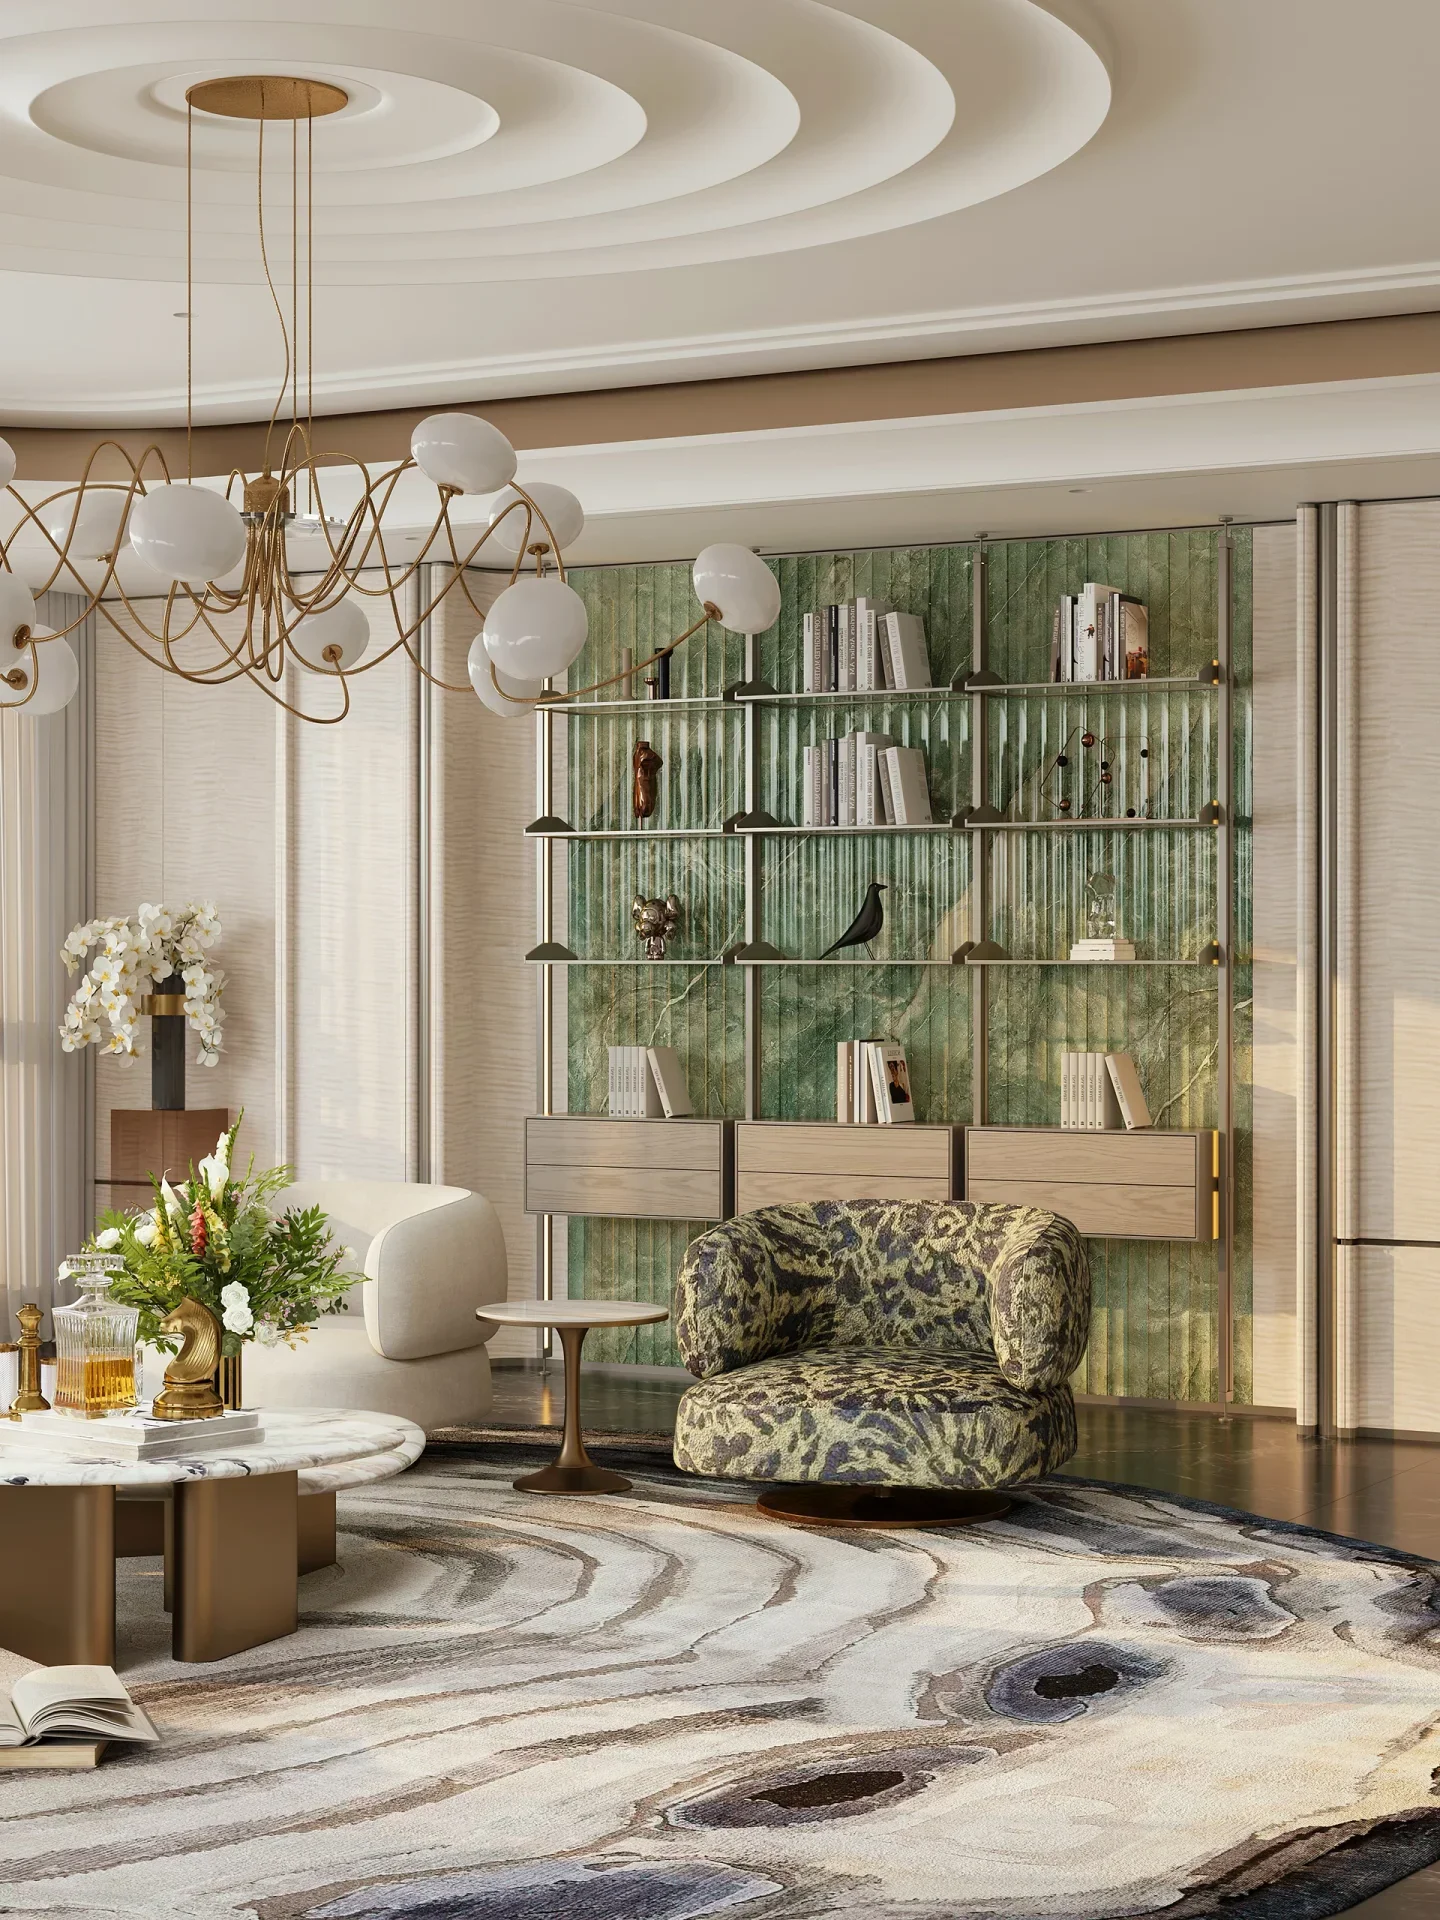
The stone surface sits within a larger composition of shelves, metal, timber and lighting. A clear elevation makes those junctions legible and keeps switches, service openings and panel joints from interrupting the main pattern.
Bookmatching, vein matching and repeating a printed surface are different effects. Define the intent and approve a layout using the available material.
Draw inside and outside corners, door openings and termination edges. Agree tolerances and movement provisions with the responsible designer.
Panel size and weight, the backing and anchorage need a project-specific design. Plan lighting maintenance and access to hidden equipment before closing the wall.
03 / Material character
Look at the actual sample and selected slabs. Colour, trade names and reference photographs do not establish a material specification.
Large-scale pattern and natural variation
Coordinate the elevation with the actual slabs rather than a small sample alone.
Quiet colour and directional texture
Review the finish, cut orientation, pore treatment and appearance under grazing light.
A potential illuminated feature
Test the chosen panel, thickness, backing and light source together. A trade name does not guarantee a uniform transmitted-light effect.
A controlled manufactured pattern
Specify the exact product, pattern repeat, edge and fixing requirements rather than describing it as a natural slab.
Plan the fit
Use the checklist to turn a visual reference into dimensions, interfaces and decisions that can be quoted.
Record the full elevation with floors, ceilings, corners and returns. Include out-of-square conditions where relevant; a nominal room dimension may not equal the final panel envelope.
Number the panels and mark the joints, vein direction and any planned matching. Review how the composition reads with doorways, screens or cut-outs rather than judging an uninterrupted slab photograph.
Identify the building substrate, panel weights and proposed fixing approach. Anchored and adhered systems have different requirements; the appropriate assembly depends on the actual project and responsible designer.
Locate sockets, switches, lighting, ventilation grilles and access panels. Obtain final cut-out dimensions before fabrication and keep necessary service points reachable after the stone is installed.
Detail the external corners, internal junctions and panel ends. A mitred return and an exposed slab edge create different visual and fabrication outcomes, especially with directional veining or flutes.
Check delivery orientation, lifting and installation sequence for each panel. Decide how damaged or service-adjacent panels could be accessed later; a large uninterrupted image does not answer this question.
Compose the stone around the screen, shelving and lighting. Keep screen brackets and cabinetry loads on a suitable support, and plan cable and ventilation access so the stone does not conceal essential maintenance points.
Include the wet-zone waterproofing, plumbing and cleaning strategy in the assembly. Stone facing is not a substitute for a waterproofing system, and fittings need suitable support and sealed penetrations.
Large public-facing panels need a coordinated installation and maintenance plan. Include traffic exposure, nearby doors or luggage movement, service access and the party responsible for the wall system alongside the aesthetic brief.
04 / From idea to specification
Start with what you know. These six decisions help turn a reference into an item that can be reviewed and quoted.
Width, height, doors, screens and adjoining surfaces.
Numbered panels, pattern direction and matching intent.
Returns, reveals, corners and movement requirements.
Actual substrate, panel weights and fixing design.
Source, colour, diffuser, access and sample approval.
Installation sequence, service openings and handling.
Procurement & care
A useful comparison identifies what is being made, what is included and what must be coordinated on site.
Bookmatching may use a selected slab sequence and create cutting waste around openings. Compare a numbered proposed layout rather than assuming any two slabs can deliver the same mirrored composition.
Fluting, mitres, returns, reinforced details and service cut-outs add work beyond a plain square-metre rate. List them with dimensions and finish requirements.
Separate stone panels from backing, anchors, adhesives, structural support, waterproofing and installation. The scope depends on the chosen system and project responsibilities.
Large panels may need specialist lifting and a planned site route. Backlit walls also need lighting equipment and access for replacement; include those costs in the overall project comparison.
Copy this enquiry outline
Feature wall; location/use [ ]; finished elevation [W x H mm]; material and finish [ ]; effect [plain / bookmatch / fluted / backlit]; panel and joint preference [ ]; openings/services [ ]; substrate information [ ]; installation responsibility and destination [ ]. Please separate stone, support system and installation scope.
Provide the relevant dimensions, intended use and project interfaces. Mark information that remains provisional.
Compare material, construction, supplied components and delivery terms. Identify who resolves site-dependent details.
Agree the project drawing, actual material selection, finish and cut layout. Record changes instead of relying on a reference image alone.
Confirm component weights, access, packing and installation responsibilities. Retain the agreed drawing and care information.
A polished slab, a honed surface and a deeply fluted panel have different cleaning access. Confirm a suitable stone-care routine; avoid acidic cleaners on calcareous stones and abrasive methods on sensitive finishes.
Do not permanently close service or lighting access with decorative stone unless the project has a defined alternative maintenance route. Mark removable panels and retain their installation information.
Loose panels, displaced joints or new cracking require assessment of the installed assembly. Have the responsible installer or designer review the cause rather than applying a cosmetic patch without checking the support.
Before you begin
Bookmatching usually arranges related slab faces as a mirrored composition. Vein matching aims to align the pattern across adjoining pieces. The effect depends on the slabs available and the cut layout; neither term guarantees an uninterrupted natural line.
No. Translucency varies by material, treatment, thickness and individual panel. Test the actual selection with the proposed light, backing and diffuser, and include access for maintenance in the design. Light around the perimeter is a different effect from light passing through stone.
There is no universal fixing detail. The method needs to account for stone properties, panel size and weight, substrate, loads and movement. The responsible designer and installer should define the support and anchorage for the actual project.
Yes, these can be coordinated in the elevation, but positions and openings must be resolved before fabrication. Include equipment dimensions, heat and ventilation requirements where relevant, and access to cables and fixings.
Bookmatching arranges related slab faces so their veining creates a mirrored composition. It depends on the available slab sequence and cutting layout. It is different from placing unrelated marble-look panels next to each other.
It can involve selected slabs, layout work and additional waste, but the actual difference depends on material availability, panel sizes and openings. Request a quote for a specific slab sequence and numbered elevation rather than a universal bookmatching surcharge.
No. Panel dimensions and weights, the substrate, environmental conditions and the fixing system all matter. The appropriate anchored or adhered assembly must be designed and installed for the actual project; a decorative image does not define a safe method.
No. A marble-look PVC panel is a manufactured sheet system, while natural marble is quarried stone. Their composition, weight, fire-related documentation, fixing requirements and care differ. Compare the actual product specifications rather than the printed pattern alone.
Yes, the design can be arranged around a screen, but the opening interrupts the pattern. Coordinate screen supports, cables, ventilation and service access before approving the panel map and final cuts.
Do not assume so. Translucency depends on the actual material, thickness, treatments and backing, together with the lighting arrangement. Test the selected panel and intended light source as an assembly before approving the effect.
Stone facing alone does not define a complete waterproofing system. The substrate, membrane, junctions and penetrations need an appropriate wet-area design. Coordinate those responsibilities with the project team before the panels are fabricated.
Begin with the complete elevation and available slab dimensions, then coordinate vein direction, openings, handling and the fixing system. Show the resulting numbered panels and joints on the approval drawing rather than leaving them to be decided during installation.
Technical reading: Natural-stone anchorage systems.
Read a little further
Your project, made specific
Share the wall dimensions, adjacent finishes, lighting intent and any equipment that needs to be integrated.
The imagery illustrates design directions from third-party sources. It is not a record of completed AxoStone client projects. Actual material, dimensions and construction are confirmed for each project.
Material care: Natural Stone Institute — care and cleaning.
Support principles: Natural Stone Institute — anchorage systems.
Technical reading: Natural-stone anchorage systems.
Updated