

Describe the whole elevation.
Provide wall dimensions, openings, sockets, lighting and adjoining finishes. Mark the normal viewing direction and desired vein arrangement. Ask which dimensions need site verification before the final panel layout is agreed.
Identify all visible returns and corners. A flat front image may leave the side faces and the meeting with the ceiling or floor undefined.
Put support design with the responsible professional.
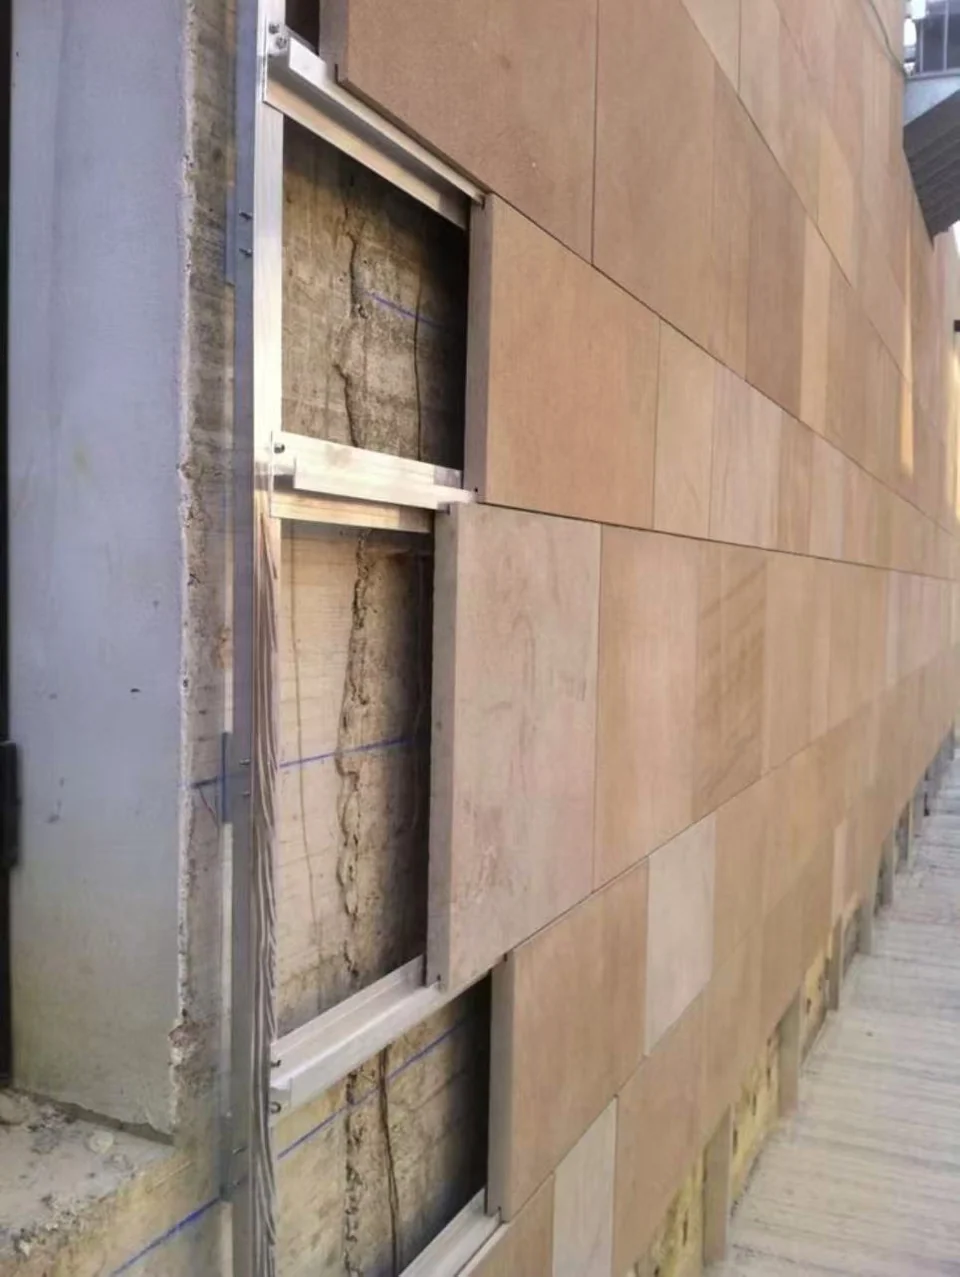
Panel size, thickness, substrate and site conditions affect the support and fixing arrangement. Ask the project professional responsible for that design to define and approve it. Do not use an online installation sketch as an engineering specification.
Coordinate the appearance and support decisions together so fixing positions, joints and access are understood before fabrication.
Plan handling and sequence.
Review the route for each component and the equipment or team needed for safe movement. Agree the installation sequence, temporary support where required and the interfaces with electrical or other work.
Keep the final panel numbers on the drawing, layout and packing list. Ask how the installed result will be checked and who will approve completion.
Your checklist
- 01
Verified elevation and site dimensions.
- 02
Openings, services and returns.
- 03
Panel numbers and pattern layout.
- 04
Substrate and responsible fixing designer.
- 05
Handling and installation sequence.
- 06
Completion checks and records.
Keep the agreed information with the dated project drawing.
Questions before the next step
Can a wall detail from social media be used directly?
Use it to identify questions. The actual substrate, panels and fixing arrangement need project-specific professional design.
When should services be coordinated?
Before the panel layout and fabrication are approved, so openings and access are defined.
Image sources
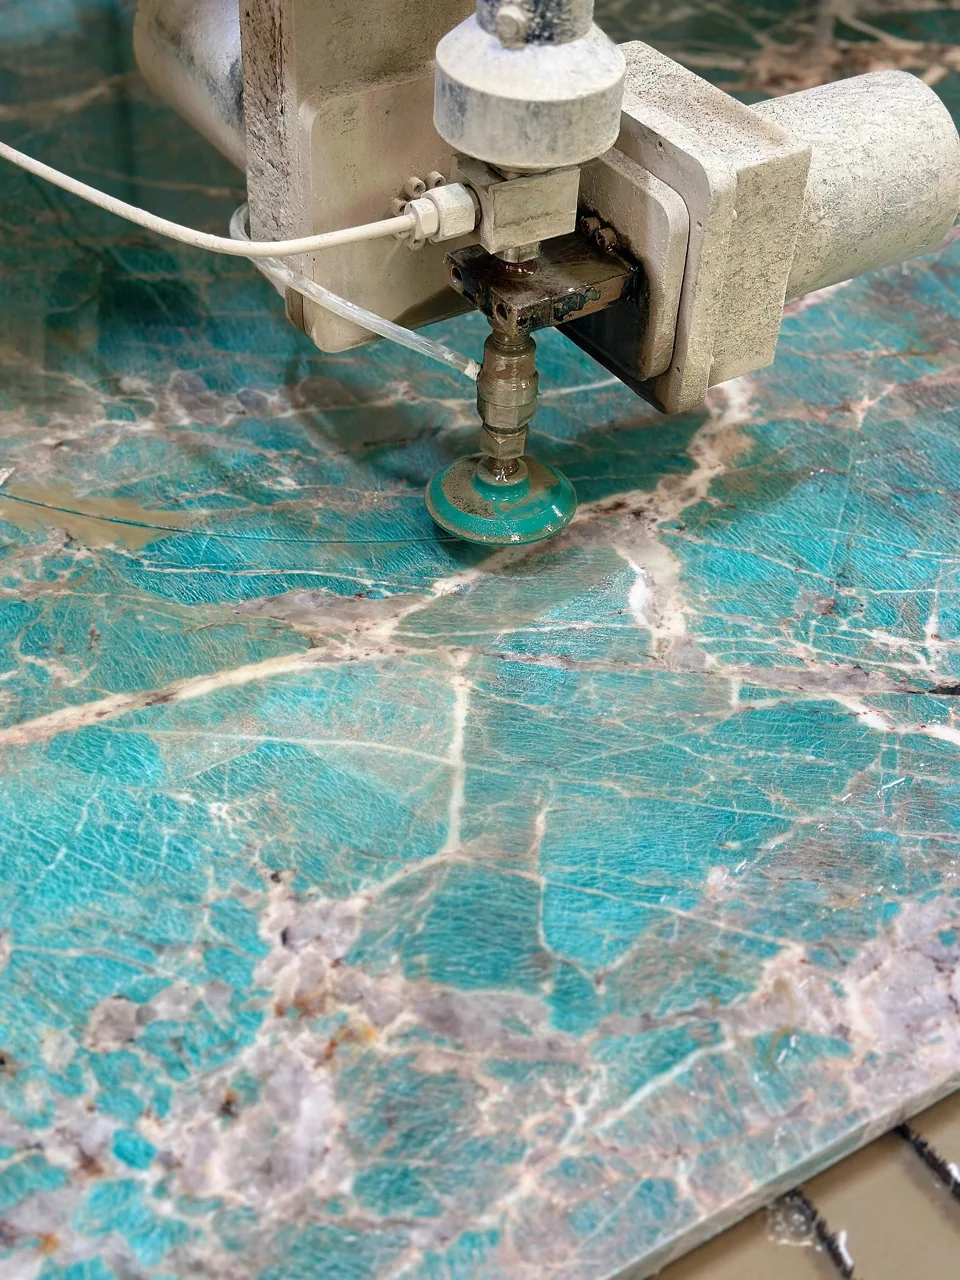
Images illustrate design and material choices. They are not a record of an AxoStone installation.
- Image 1: Original source